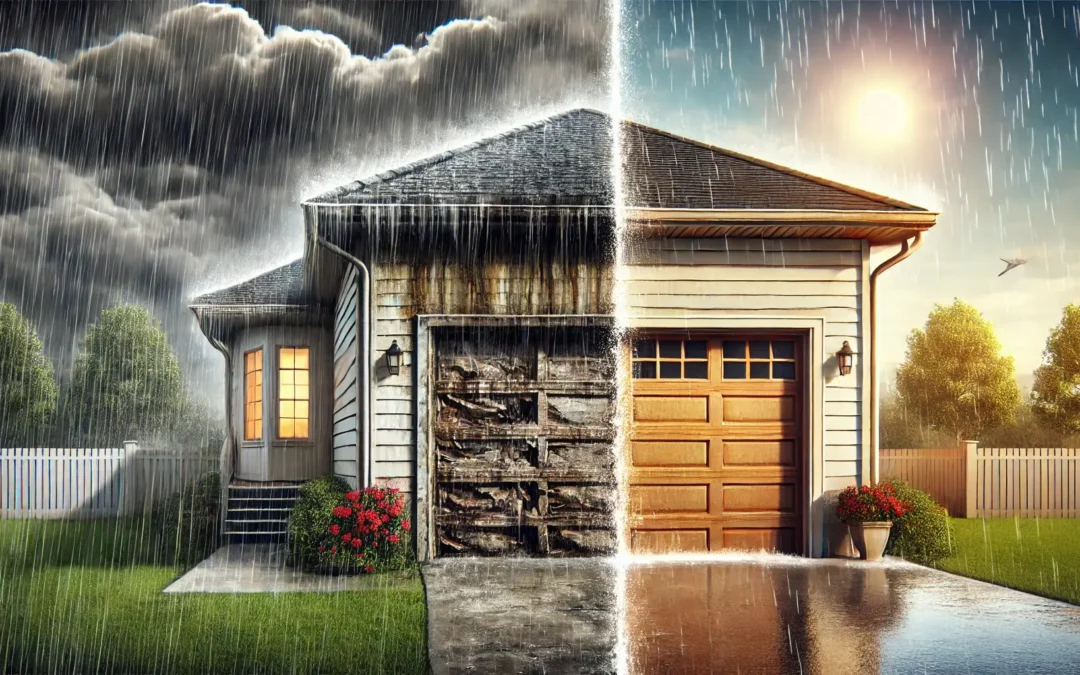
When winter approaches, preparing the garage to withstand low temperatures becomes an essential task for any household. Sealing garage doors for winter not only helps maintain a warm and protected interior but also reduces heating costs and prevents damage caused by moisture or water. This article will guide you step by step on how to perform effective sealing to ensure your garage door is ready for harsh weather conditions.
Why Seal Garage Doors in Winter?
The garage is often one of the most vulnerable areas of a home. Many garage doors are primarily designed for security and accessibility, but they don’t always provide adequate thermal insulation. This can lead to problems during winter, such as:
- Increased heating costs: Cold air leaks from the garage can cool the home’s interior, requiring more heating to maintain a comfortable temperature.
- Moisture and water infiltration: Rain and snow can easily seep through poorly sealed doors, damaging tools, vehicles, and other items stored in the garage.
- Insect and pest invasion: During cold months, rodents and other small animals seek refuge in warm spaces. Proper sealing prevents their entry.
- Discomfort: If you use the garage as a workshop or storage space, a cold, damp environment can hinder daily activities.
Effective sealing not only addresses these issues but also enhances home comfort and extends the lifespan of structures and belongings.
Additionally, sealing the garage is not an exclusively winter task. It also provides benefits year-round by reducing dust and dirt buildup, keeping the space more organized, and improving the home’s energy efficiency.
Step 1: Initial Inspection
Before starting any sealing work, it’s essential to conduct a detailed inspection of the garage door and its surroundings. This step helps identify specific problems and prepare the necessary materials.
What to Look for During Inspection:
- Visible gaps: Check the edges, bottom, and frame of the door. If you notice light coming through or feel drafts, these are key areas that need attention.
- Condition of existing weatherstripping: Weatherstripping is a crucial part of the sealing system. If it’s worn, cracked, or deformed, it needs to be replaced.
- Door functionality: Ensure the door closes completely and without interruptions. A misaligned or defective mechanism can complicate sealing.
This inspection will help pinpoint where leaks occur and which parts of the door need the most attention. If you detect significant structural issues, such as severe misalignment or worn tracks, repair these before proceeding with sealing.
Step 2: Installing Weatherstripping
Weatherstripping is a practical and affordable solution to block cold air and moisture. Different types are available depending on where they are needed on the door.
Types of Weatherstripping and Their Uses
- Bottom weatherstripping
Designed to seal the gap between the bottom of the door and the ground, bottom weatherstripping is crucial to keep out water, dust, and small insects.- Recommended materials: High-durability rubber or vinyl.
- Remove old weatherstripping and clean the bottom surface of the door.
- Cut the new weatherstripping to match the exact width of the door.
- Attach it using screws or by fitting it into the designated channel, depending on the design.
- Side and top weatherstripping
These strips cover the edges and top of the door, blocking drafts from these areas.- Recommended materials: Rubber, vinyl, or soft-bristle brush strips.
- Measure the edges and cut strips to the appropriate length.
- Clean the surfaces where the weatherstripping will be applied.
- Secure the strips using strong adhesive or galvanized nails, ensuring a tight fit.
- Brush weatherstripping for roll-up doors
For roll-up doors, brush strips are a practical solution. They prevent direct contact between the metal and the frame and seal against drafts.
Practical Tips for Weatherstripping:
- Choose weatherstripping specifically designed for garage doors as they are built to withstand frequent use and harsh weather.
- Ensure the weatherstripping makes firm contact with the door to create an airtight seal.
Step 3: Installing Garage Door Threshold Seals
Threshold seals are an additional barrier installed on the ground beneath the door. They are particularly useful for preventing water, dust, and drafts from entering.
Benefits of Threshold Seals:
- Provide extra protection at the door’s bottom.
- Improve the garage’s overall insulation.
- Block rainwater or snow from seeping inside.
- Level out uneven surfaces between the door and ground, enhancing the seal.
How to Install a Threshold Seal:
- Clean the area: Thoroughly clean where the seal will be placed, removing grease, dust, or old adhesive residue.
- Measure and cut: Cut the threshold seal to match the door’s width for a precise fit.
- Apply adhesive: Use a strong, waterproof adhesive, applying it evenly to the base of the seal.
- Position and adjust: Firmly press the seal against the ground, aligning it with the closed door.
- Allow to dry: Let the adhesive cure for the recommended time before using the door.
Step 4: Thermal Insulation of the Door
While weatherstripping and threshold seals block drafts, adding thermal insulation to the garage door helps maintain a stable temperature. This is especially important if your garage is attached to your home.
Why Insulate the Door?
- Reduced heat transfer: Insulation prevents cold air from seeping indoors.
- Increased comfort: If you use the garage as a workspace, insulation makes it more pleasant during winter.
- Protection of stored items: It keeps your belongings safe from extreme temperatures.
Insulation Material Options:
- Rigid foam panels
- Lightweight, easy to install, and highly effective.
- Available in polyurethane or expanded polystyrene.
- Rock wool or fiberglass
- Provides thermal and acoustic insulation.
- Fire-resistant, making it a safer option.
- Reflective insulation
- Aluminum-based material that reflects heat, suitable for milder climates.
Installation Steps:
- Measure and cut: Cut the insulation material to match each panel on the door.
- Attach the insulation: Secure it using clips, strong adhesive, or support brackets.
- Seal the edges: Ensure no gaps are left uncovered and that the insulation doesn’t interfere with the door’s operation.
Step 5: Maintaining the Sealing System
The job doesn’t end once your garage door is sealed. Regular maintenance is essential to ensure durability and effectiveness.
Periodic Maintenance Tasks:
- Visual inspection: Check the weatherstripping and threshold seals every six months for cracks, deformation, or loose areas.
- Cleaning tracks and hinges: Keep moving parts free of dirt for smooth operation.
- Lubrication: Apply silicone lubricant to tracks, hinges, and springs to avoid friction damage.
- Replace worn parts: Swap out any deteriorated components as weatherstripping and seals lose effectiveness over time.
Regular maintenance not only ensures the garage remains well-sealed but also extends the lifespan of materials and prevents more costly issues in the future.
Frequently Asked Questions
What tools do I need to seal my garage door?
For basic sealing work, you’ll need a measuring tape, scissors or a utility knife, strong adhesive, a screwdriver, and a hammer for side weatherstripping. A caulk gun may also be helpful for applying additional sealants.
Is sealing a garage necessary if it’s not heated?
Yes, sealing the garage is important even if it lacks heating. It prevents cold air from entering your home and protects items stored in the garage, like tools or vehicles.
How long does it take to complete the sealing process?
The time varies based on the garage size and materials used, but on average, you can complete the work in 4-6 hours if done yourself.
Sealing garage doors for winter improves comfort, protects your belongings, and lowers energy costs. By following the steps in this guide—from installing weatherstripping and threshold seals to adding thermal insulation—you can prepare your garage for colder temperatures and ensure functionality for years. Remember to perform regular maintenance to retain the benefits of the sealing system.
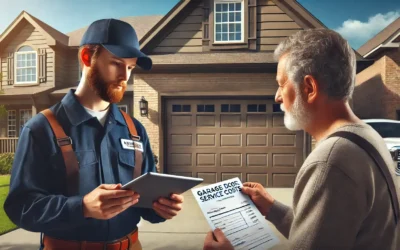
Need professional help sealing your garage door this winter?
At TAC Overhead Door in Houston, our experts provide personalized solutions to keep your garage warm and secure. Contact us today and get ready for a more comfortable winter!